So this month Iz turned 1... where the time has gone I have absolutely no idea but we celebrated her birthday with no less than 4 different cakes :)

So here are the different types of cake and styles of icing we used (you could obviously mix and match any of them!).
Healthy smash cake
I've posted this cake recipe previously (you can click here to read it) - it's completely free from refined sugar and dairy products and you can easily substitute in wholemeal flour for extra nutritional benefits.
For the icing (see the bottom of this recipe) I divided it between 4 bowls and added a different colour to each. I used the Wilton neon food gels which I only got recently but completely love - you only need a drop or two for really strong vivid colours. I then added 2 colours at a time to my piping bag and piped rosettes onto the cake. I left space between each rosette so I could go back and pipe one with the other 2 colours afterwards.


If the icing ever gets too runny to work with you can always pop it back in the fridge for an hour or two. Ditto with the cake - even if it's only half-iced!


 |
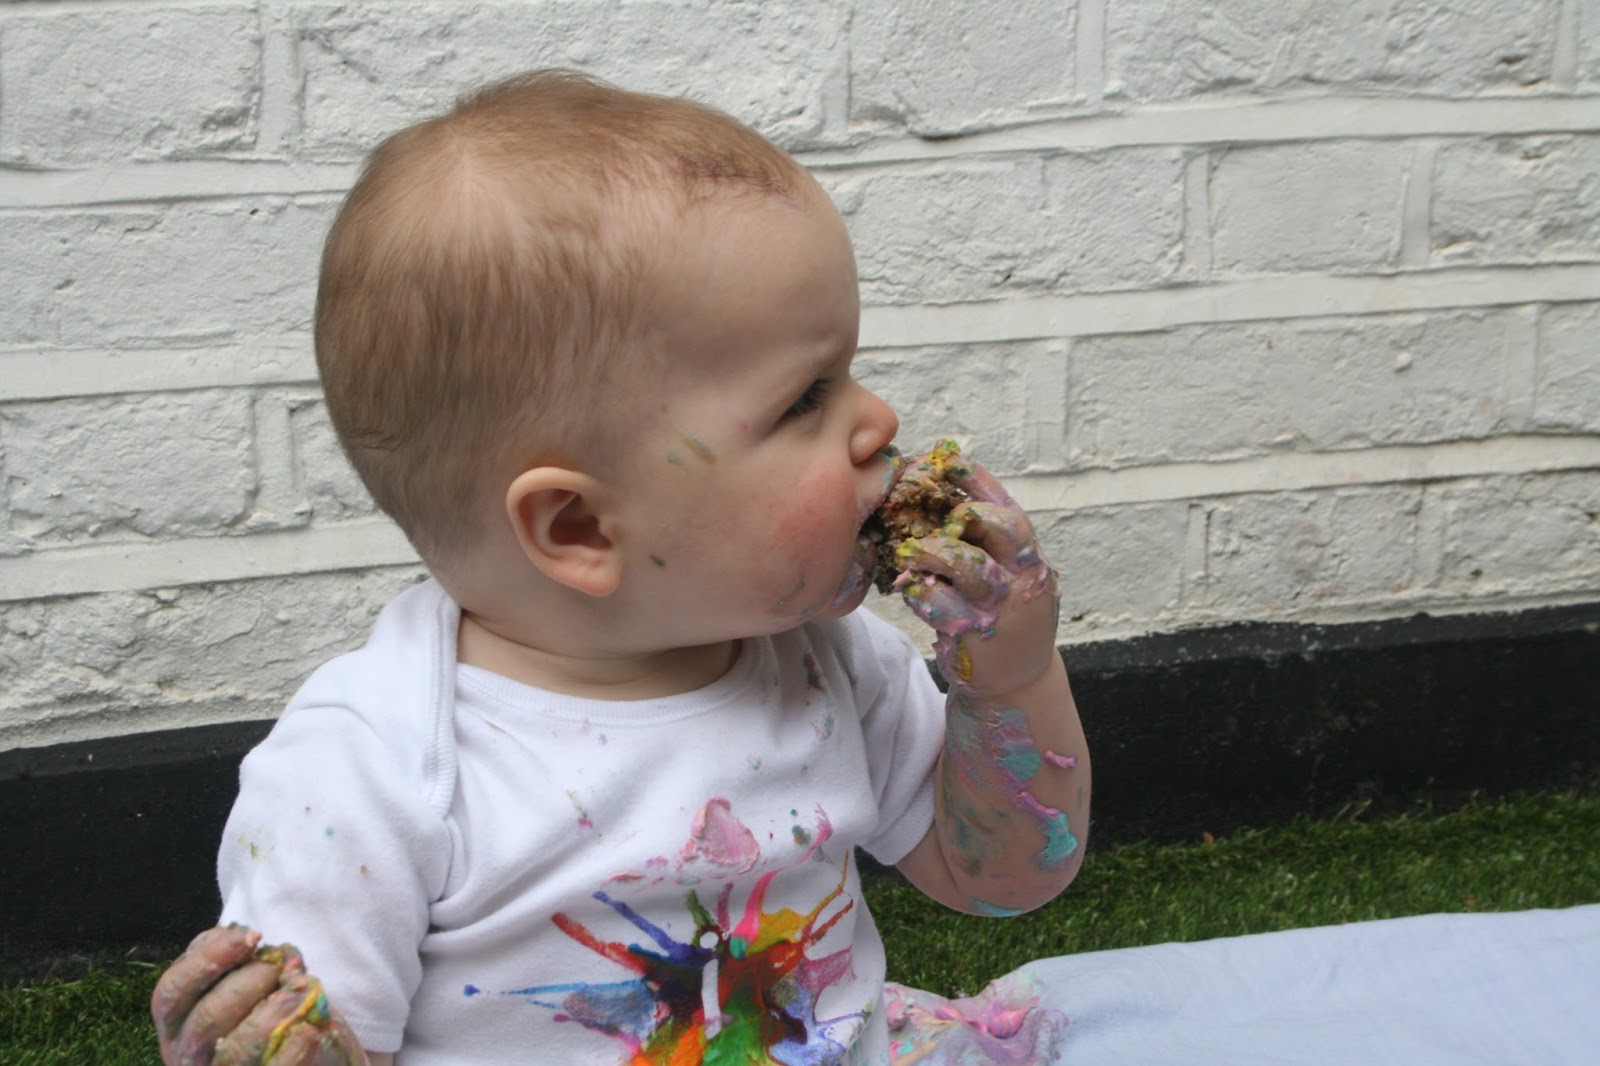
| Amazing pic by Pallavi from "Recapture by Pallavi" although she's now moved abroad :( |
As an aside if you are wanting to do a cake smash at home but don't have a cake stand you can make a very simple DIY one by using a hot glue gun and a small ramekin dish. Just glue the ramekin onto the underside of a disposable cake board and there you are :)

Sprinkle cake
Ever since I saw a picture of one of these I've been wanting to try it out. For the "cake" bit we used our sugar-free wacky cake (full recipe here) as I wanted Iz to be involved in making her 'proper' first birthday cake :)

I lined the cake tin with two pieces of baking paper in a cross and sprayed the middle with easy-release cake spray. This made turning and releasing the cake after cooking super easy.

After it had cooled I chilled it for a few hours in the fridge (no strong rationale behind the timings - it just clashed with the kids bedtime! Lol) and then dirty iced it with some vanilla frosting. I chilled it for another hour and then added another layer of frosting. My two tips - firstly definitely dirty ice first as it prevents "cake drag" and you have a much smoother icing finish, secondly put a spatula/fish slice under your cake bottom *before* you start icing it... You'll thank me later!

Once it's iced balance it on top of an up-turned bowl in the middle of a baking tray. Then I used the "pat method" to apply sprinkles - gather a handful of sprinkles loosely in the palm of your hand and bring them quickly into the side of the cake. Don't press too hard or the sprinkles will disappear into the icing. Press gently and most will stick whilst a few (the excess) will drop off into the baking tray. Continue like this round the cake.

Tip - make sure your hands are dry and icing-free before every single "pat" - I kept a piece of kitchen roll next to me and just wiped my hands between each pat. You can then use a heaped teaspoon to target any specific areas that need extra sprinkles and just keep scooping up and recycling any ones that fall into the baking tray.

Lastly when you're happy with the sides, just sprinkle the top liberally and make sure all the edges are well covered.

Once finished gently lift the cake onto a plate or cake board (using the spatula - no damage to the frosting at all - cunning huh?!). Here's the final cake - super pretty and sprinkly!

This was the first time I'd done a sprinkle cake but I love how easy it was and how it looks so polished. Definitely something I'll be repeating :)


Ice cream cone cakes
This is another style of cake I've been wanting to try for ages. Cute, delicious and super practical - could you ask for anymore?! Lol. You can read the whole post here.


Second smash cake
So I got in trouble for not involving Iz's half-brother in her original cake smash. As she'd only been 10 months old then I decided the best option was to just have another one :) great excuse to get my piping bag out again!
I used a packet mix (Betty Crocker red velvet cake) as firstly we did the smash the day after I'd just finished a run of night shifts so I hadn't really had the time (or energy!) to make another rainbow cake like D had. I also figured it was pretty safe to do this as so far Iz hadn't expressed much interest in eating the cakes she'd encountered...
For the icing I covered the sides with sprinkles just like on her actual birthday cake above (I did have a LOT of sprinkles left over from then!! Lol) and then piped the top. I divided the white icing between 4 plastic cups and coloured each with a different food colour gel. Then using a star nozzle and a piping bag (I used disposable ones as couldn't face washing it out in between each colour!) I piped one colour at a time, leaving enough space between "stars" for the other colours.


Piping like this is actually very forgiving as you can just squeeze very small or much larger stars in the remaining gaps, depending how much space you have to work with. I deliberately chose to leave yellow til last as was worried it might get slightly buried by the darker colours otherwise but I suspect doing them in any order would work just as well.


 |
| After her older brothers got involved... |
******
So there they are - the multitude of different cakes used to celebrate my littlest baby turning 1 :)
Have you made any cakes recently? Decorated one for a birthday? Post a picture below or leave a link - I'd love to see!


