This is a super simple activity that takes no time to set up (and gives you the excuse to eat lots of Pringles!).

What you need:
- Glue that will dry clear (we used PVA)
- food colourings
- a cake pop stick (you can see here the reasons why I prefer them to other options but you could also use a cocktail stick)
- a plastic lid (the ones from Pringles cartons are perfect)
Instructions:
1. Pour a thick layer of glue into the lid
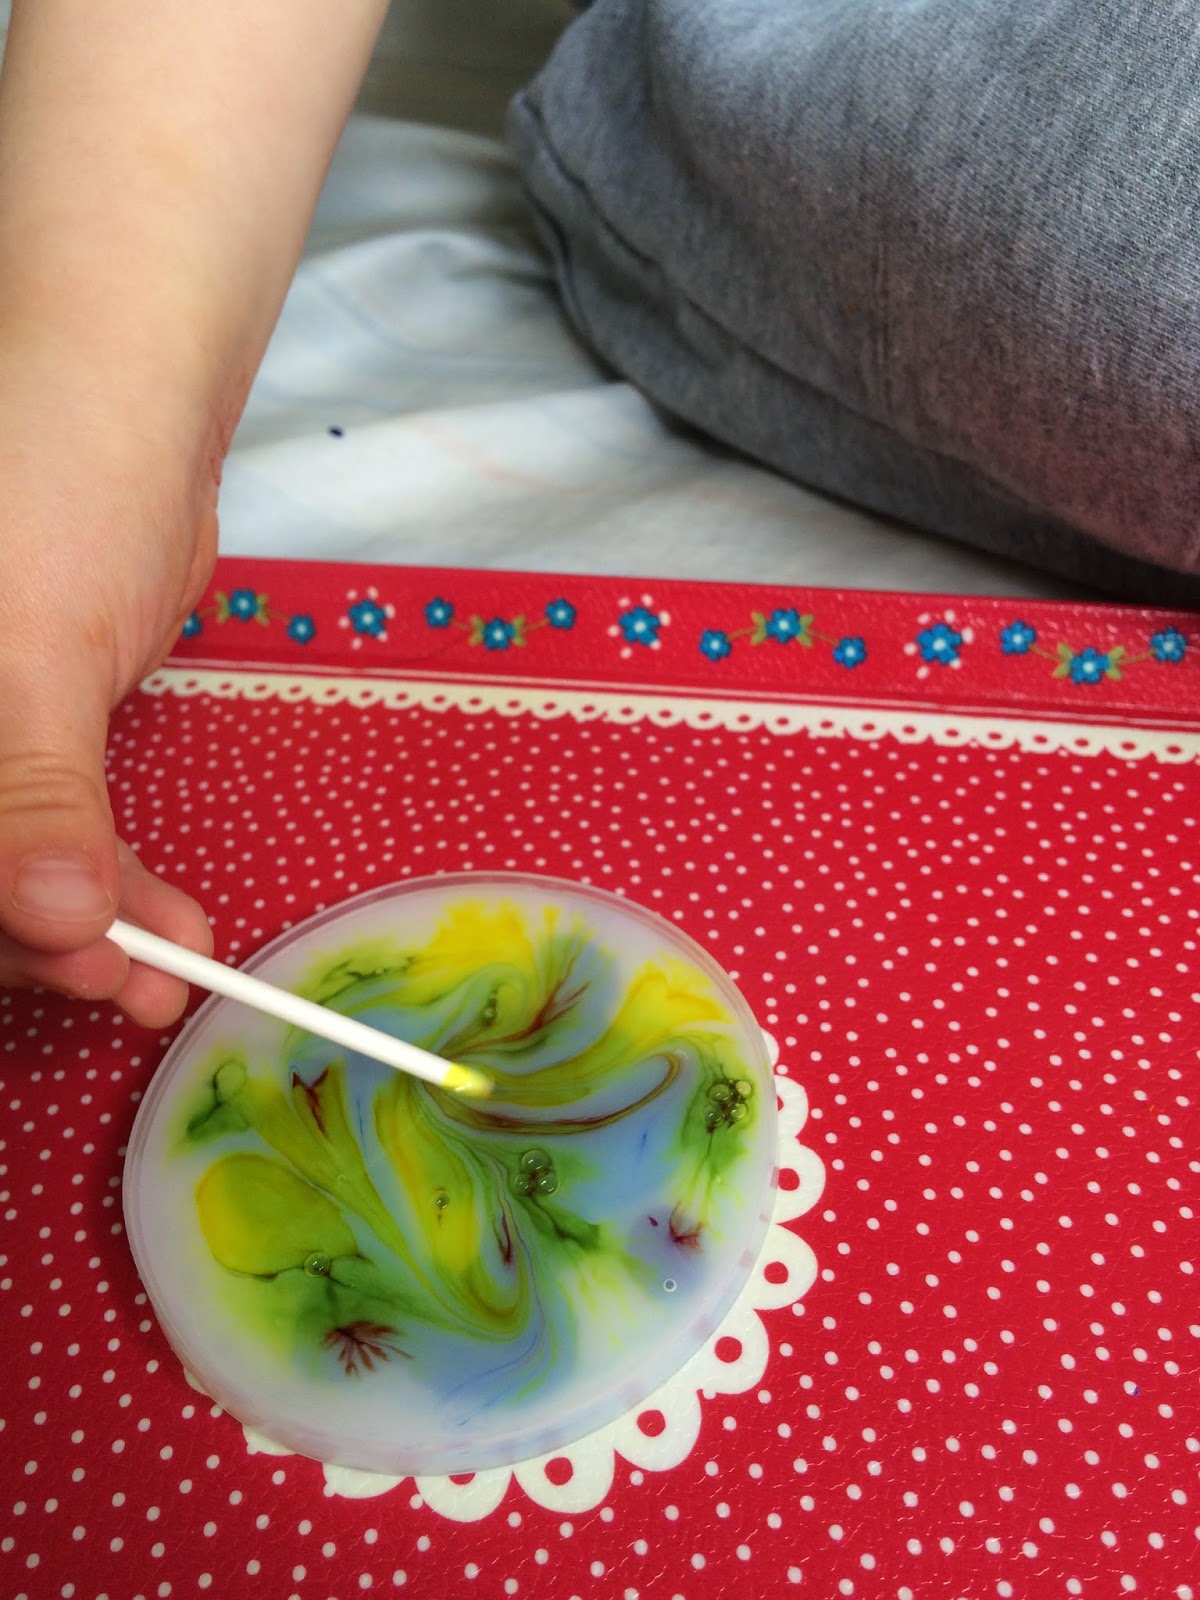
2. Add a few drops of food colouring to the glue
3. Using your cake pop stick, gently swirl the colours (some restraint is needed - see tips below!!)
4. Leave to set on a flat surface (can take 3-4 days to fully dry)
5. Once the edges start peeling away from the lid gently peel the circle out
6.
Trim the sides if needed and use a hole punch to make a single hole if
doing a hanging suncatcher, or two holes of making bunting
7. Add some ribbon and display :)

Pour as thick a layer of glue as can be contained within the lid - this will make your suncatcher more sturdy.
Remember
to shake your glue bottle first! I forgot the first time and so ended
up with a few suncatchers that never properly dried because they only
contained the thin clear portion of the separated glue :(
This
is definitely one of the times when less is more... Only use a few
drops of food colouring and don't go crazy with the stirring - otherwise
you'll end up with a brown mess! The colours will contain to spread out
after you stop mixing them so be prepared for your patterns to change. I
bought some tiny 5ml dropper bottles on Amazon which are perfect for
activities like this - I filled each with a different colour and then
let D be in charge of the squeezing (great pincer grip practice) without
any fear of food colouring going everywhere!!
 |
| This was the first batch we made - you can see already how dark 3 of them are - they got even darker when they dried |
 |
| This was our second attempt - much less colouring and turned out way better :) |
Make
sure you put the wet lids well out of everyone's way when they're
drying (I managed to drop a spoon into one of ours by mistake and
smooshed all the colours) and don't be tempted to try removing them from
the lids too early. It'll be obvious when they're ready and start
separating themselves.
******
I loved how excited D was when he first spotted them hanging on the window. "I did that!" he shouted very proudly :)

Love this!! Can't wait to try it. And we eat Pringles all the time, so we're set! lol
ReplyDeleteThey are so fun to make (but you need a lot of patience for the drying part!! Lol) but definitely try to restrain the "swirling" a bit more successfully that I did with D. He was having so much fun he just kept going the first time - hence the browny colour of them!! Hope you enjoy making them and thanks for commenting :)
ReplyDelete