Showing posts with label christmas. Show all posts

Monday, 5 January 2015

Snowmen cupcakes


So here it is, the last in my "Christmas series" of blog posts. All the previous ones are tagged so you can find them all by clicking on the “Christmas” tag at the bottom.

We had a second ‘Christmas lunch’ on the 30th with all my family so Doof and I decided to make some snowman cupcakes to take with us.

These were very simple to make but be prepared to get a bit messy if doing it with a toddler!

What you need:
- fairy cakes
- marzipan
- small silver balls/choc drops etc for decorating
- icing sugar frosting
- 'bootlaces'  

All ready to go...

Create small balls of marzipan and flatten off the bottoms. These will be the snowmen heads. Make up the icing sugar glaze (use milk instead of water to make it a bit thicker) and put a small amount on top of each cupcake. Put one marzipan ball on top of each cupcake and leave for a few minutes while the ball 'sets' in the glaze.


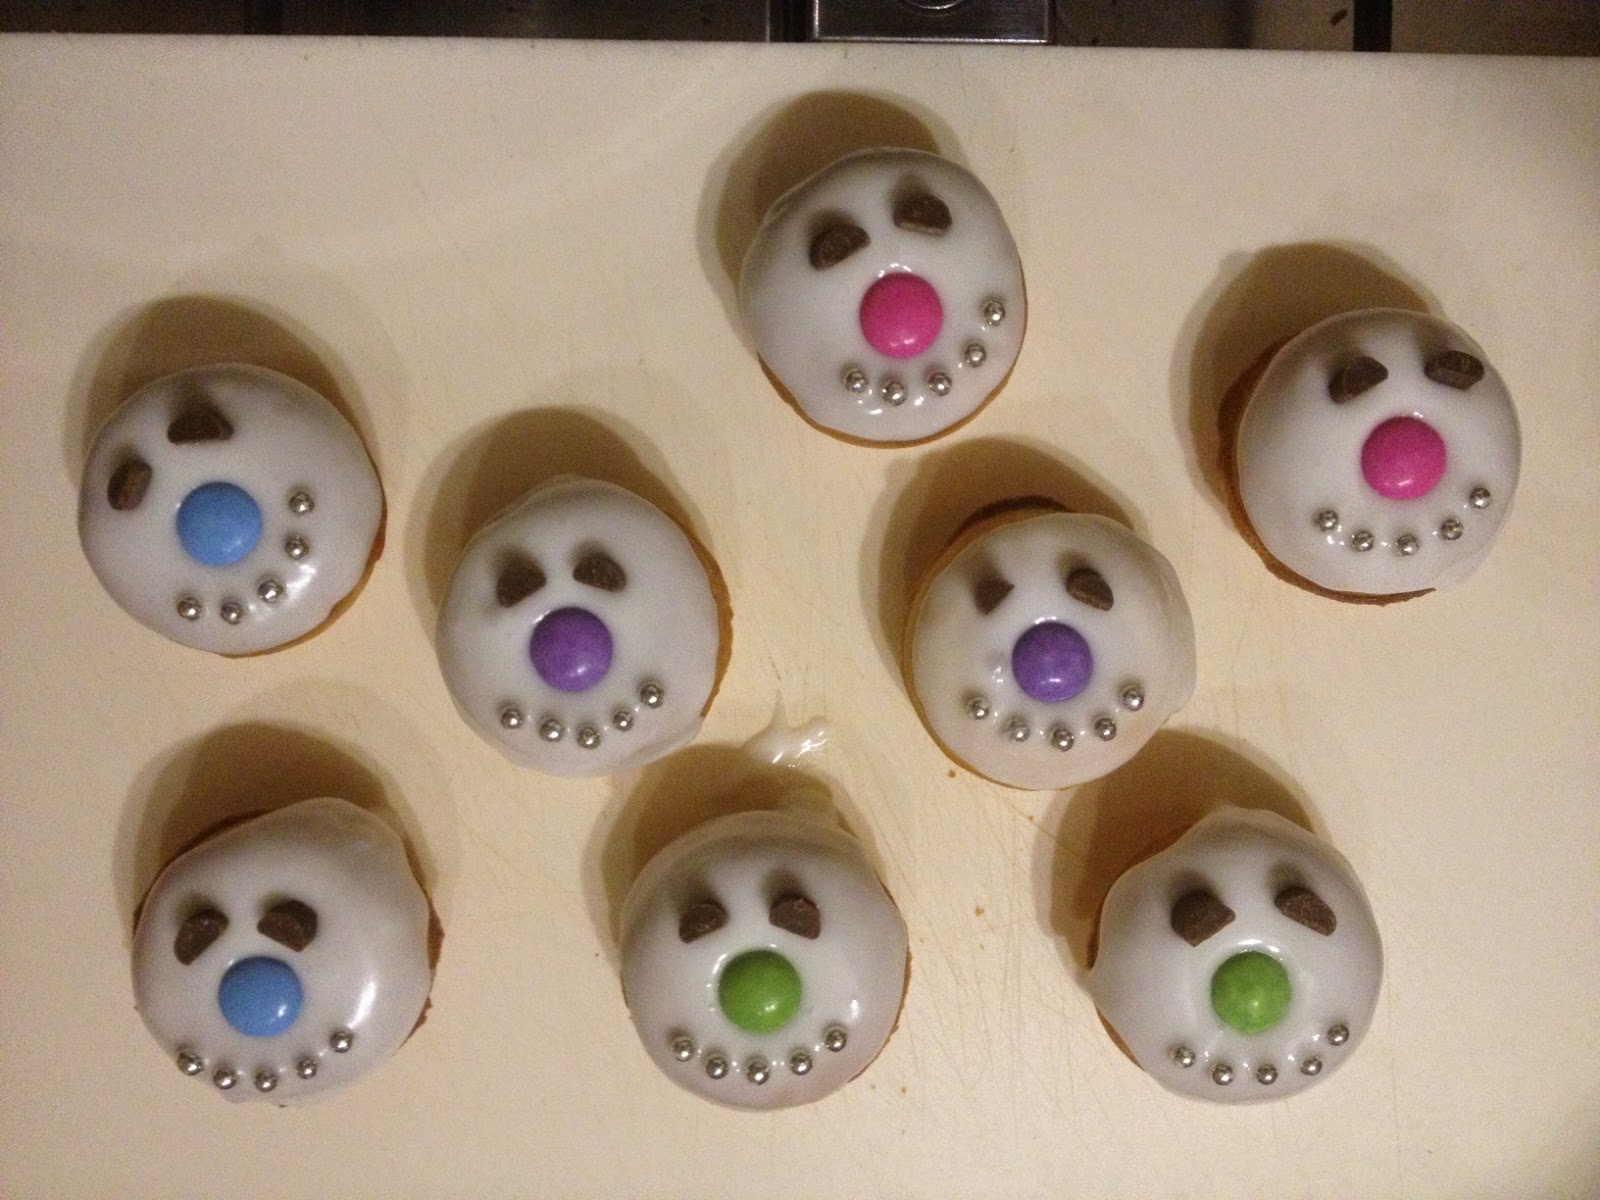
Once the heads are pretty secure cover the rest of the cupcake in icing and start decorating. We used silver balls for eyes, coloured chocolate mini beans for buttons and strawberry bootlaces for scarves :)

It's a very serious business, this decorating lark...

Very proud of his handiwork :)

Final snowmen. Pretty impressed at D's decorating tbh!

Off we go to lunch...


Sunday, 4 January 2015

Fairy light fun


Aka simple sensory play for babies (or toddlers!)

I saw something similar on twitter last week and knew we had to try it - especially as we've just taken the Christmas tree down so the fairy lights are free :)

Very simple set up - you just need a cardboard box (one bigger than ours would be better but this was the only one we had in the house), a long string of fairy lights and some scissors/screwdriver (to make holes in top of box.

Starting
 
Nearly finished...

End result :)

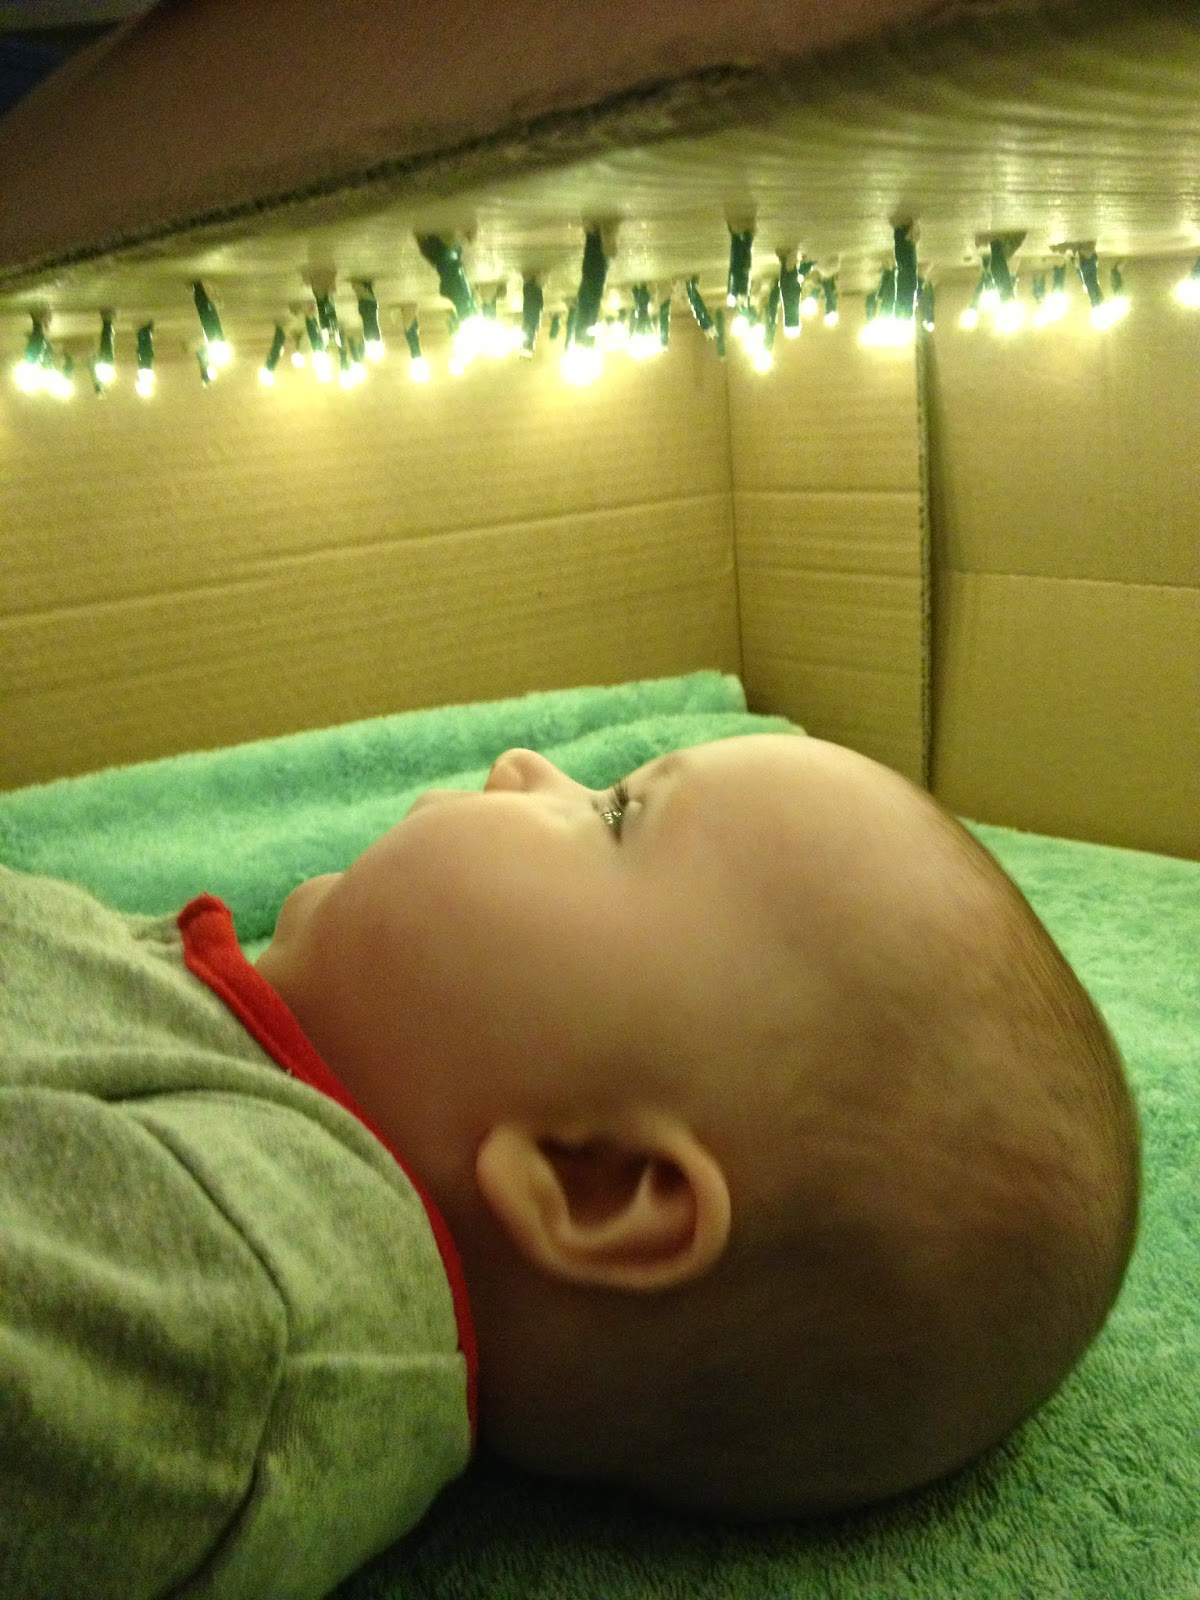
Iz loved it. I started by just placing her near the entrance so she could choose whether to engage or not. She quickly rolls towards it and them couldn't stop staring at the lights. I only let her stay there for a few minutes as didn't want to over-stimulate her but she was fascinated. We'll definitely be using it a lot over the next few weeks as she's just starting to learn how to explore the world around her at the moment.
 

Checking it out from the entrance

 
Getting up close and personal

She was fascinated

She looks a bit sad because she's got a vomiting bug (hence the towel on the floor!)


And if I manage to find a bigger box then even better as then Doof will be able to join in. A good excuse for online sale shopping?! ;)

Wednesday, 31 December 2014

What Iz loved - December 2014

Here is what Iz loved this month…


1. Tummy time
2. Playing with lights
3. Making new friends  
4. Kisses with her monkey
5. Sitting up (with a little Bumbo help!)
6. Chriiiiiistmas!
7. Being a reindeer
8. Presents
9. First food- yum yum yum


******

If you want to do your own "What baby/toddler loved" then link up with Rachel @dinkythinks - you can see her latest post here :)


Sunday, 21 December 2014

Homemade Christmas cards

So here is the penultimate post in my Christmas series - homemade Christmas cards (although we are actually using ours as thank you letters for afterwards :)
You can see my previous posts in the series here:
How to make a Christmas Den in 4 easy steps
Cutest snowmen and reindeer doughnuts

******


I love making things with D and Iz (although Iz can be slightly uncooperative at times!!). Think my creative side definitely comes out when I'm doing stuff with them, and is pretty dormant the rest of the time! Last year D made reindeer and Father Christmas cards:

D's cards last year

So this year we wanted to try something different.

D's fairy light fingerprints

D loves painting and is happy to get his hands messy - something I'm very proud of :) I can't remember where I first saw the idea for this card but I thought it was great and so we tried it this year.

First I put dollops of our Neon paints (same ones we used for our blacklight bath painting - love these paints from Rainbow Creations online shop) in D's paint tray and then let him put his index finger in one colour at a time. He then 'finger-printed' the card with a whole mix of colours. 

A trial run just playing with the paints

The fingerprint "lights"

Once they'd dried I added on a string to make them look more like fairy lights - don't they look cute?!

 
The finished cards :)

And if you're wondering - yes these also glowed under our blacklight :)


You could use this for any occasion or holiday - use blue or pink fingerprints for a new baby card, yellow for Easter, green for St Patrick's day, red/white/blue for July 4th. The possibilities are endless. We will definitely be doing it again!


Iz's Christmas tree footprints

Being only 4 months, Iz isn't really into arts and crafts like D so I had to help a fair bit ;)

First I painted her feet with glittery green paint and them put two footprints close together on some orange card. This was quite fiddly to do on my own so no photos I'm afraid! But here is what they looked like afterwards:

Drying on top of the fish tank...

Once they were dry I added a yellow star, tree trunk and coloured stickers as baubles. I experimented with random baubles or a string of baubles - which do you prefer? We decided randomness looked better.

The finished cards :)

Random baubles rather than chains won our vote!

******

I'm really happy with how they both turned out and as with all the cards we ever make I always make sure we do an extra one so we can keep one too :)

******

Have you made any homemade cards this year? I'd love to hear any other ideas or leave a link in the comments if you've blogged about it too.


Thursday, 18 December 2014

Cutest doughnuts ever?


So next up in my Christmas series is some festive food :)

You can check out the other posts in the series here:
How to make a Christmas Den in 4 easy steps

But back to the food. I saw these ridiculously cute reindeer and snowmen doughnuts on LoveFromTheOven’s blog and having just bought a 3-in-1 donut/cake/cake pop machine knew I had to give them a go.

I pretty much followed exactly what she recommended – you can read her whole post with step-by-step instructions here.
 
If you compare my photos next to hers mine are definitely much more amateur looking but I am still really pleased with how they turned out. They were also the first doughnuts I’ve ever made so I was doubly pleased!

Here are a few pictures of the making process:

Naked doughnuts ready for decorating :)

All the decorations ready to go...

First step in creating Rudolph and friends

Finished reindeer :)

Oops white chocolate is a lot harder to melt than milk chocolate... Had to improvise with sugar glaze instead!

The first 2 snowmen finished

Snowmen cuteness :)

How crazily cute are they?! I took them along to Doof’s nursery Christmas party and am now just waiting for another excuse to make them again...

******
Have you made any festive-themed food? I’d love to hear about it :)


Tuesday, 16 December 2014

What Iz loved - November 2014


Here is what Iz loved this month… (well technically it's last month now as I'm a little bit behind!)


1 - Being a duck
2 - Her massive playmat
3 - Starting babycademy music "classes"
4 - Her Christmas Den
5 - Getting kisses from her brother
6 - Sleeping through the night (think Mummy loved that more!)
7 - Bathtime
 
******

If you want to do your own "What baby/toddler loved" then link up with Rachel @dinkythinks - you can see her latest post here :)


Wednesday, 10 December 2014

How to make a Christmas Den in 4 easy steps (and for £4)

This is the thrid in my series of Christmas posts, after our Christmas traditions (see here) and our homemade glitter ornaments (see here). Sometimes the most fun is the simplest :)

******

1. Get a big cardboard box (thanks LoveKeepCreate for ours)

Just practising to assess for comfiness...

2. Go to Poundland

Embarrassingly we're regulars...

3. Assemble purchases

Sellotape red fairy lights around the top

Have some green fairy lights free-styling on the floor

Decorate with festive stickers
 
Maybe even yourself a little...

4. Add some books and cuddly animals

Just like home...

Throw in a cushion too if you haven't quite mastered sitting yet

Total cost = £4 (£2 for lights, £1 for batteries, £1 for stickers) 

And ready from conception to completion (including shopping trip!) in under 30 minutes...

Enjoy :)

******
PS not promising it'll work for you but the above den has rapidly become somewhere that the toddler goes for (self-imposed!) quiet time. He crawls in, turns the lights on and "reads" a book to himself. What more could we ask?! 


Thursday, 4 December 2014

Salt dough ornaments - rainbow glitter style

(Aka lovely homemade presents)

When I first saw this post I knew we would have to try it. I love rainbow activities. I think it's the mix of vibrant colours. Post anything rainbow-related and that's it, I'm suckered in :)

I wanted to make some nice homemade Christmas decorations with Doof - both for our tree and also as presents for his nursery teachers. This was our first foray into the world of salt dough but I'm really pleased with the results. I've blogged before about my love of food colouring gels and they came into their own again in this activity.

Recipe:
2 cups flour
1 cup salt
3/4-1 cup warm water
Glitter
Gel food colourings 

Follow D step-by-step:

Measure out a cup of salt

Add to flour

Mix in glitter

Add the water and mix to a dough

Divide into 6 portions and add the colour gels

Pose proudly with your coloured balls

Play with them a bit :)

Then start making shapes!

Rainbow-tastic

The last step I did (so no photo, lol) - if you want to hang them as ornaments then poke a hole in the desired place with a skewer or thin straw. Make sure you turn them over and skewer from both sides so to be sure the hole has gone all the way through.

So voila - all our masterpieces:

Before baking

We then baked them in the oven on "low" (can't give you an exact temperature as all the numbers have worn off the dial but it was warm/hot rather than hot/hot!) for about 4 hours til they felt hard. I turned them over every hour or so and "re-skewered" the holes. Then I left them for another 2 days to make sure they were fully dried out.

After baking

After this some of the colours had faded slightly and I was a bit worried they weren't going to look good. Someone suggested coating them in PVA glue to protect them and brighten up the colours, but that did not work well (luckily I only tried it on one!). The glue went all gloopy and boobly on the surface so that idea was quickly shelved. So instead I bought some see-through glaze which is pretty multi-purpose and we can use in future crafting too :)

Subsequently I have been told that if you use "professional" PVA rather than kid's craft stuff then it works better. Another thing that was suggested to me was acrylic wax - but when I tried to buy some in our local art shop the owner was so snotty and off-putting at me wanting to buy some for a child's project that she put me off! Maybe next time...

And the final step - thread them on some festive silver string and hang them on the Christmas tree :)

A selection of our creations

One finished star garland

******

This is the second of my "Christmas countdown" posts - you can read the first one about our Christmas traditions here. And over the next few weeks I'll be posting more :)

******