Showing posts with label sensory play. Show all posts

Monday, 15 May 2017

Jelly circles


We did this a while ago but I completely forgot to blog about it. Previously D has had lots of fun playing with frozen shapes, including freeing trapped lego men and animals, so I thought I'd try a similar activity but with a completely different sensory feel. This one was also completely safe for Iz to join in with (even though she was much younger at the time) as all the ingredients were edible.


This was as simple to set up as you probably think! I made up jelly sachets to be slightly more concentrated, only adding 2/3 of the water recommended on the packet. I then sprayed the inside of some cupcake silicone moulds with cake release spray and left them in the fridge until fully set. Then tipped them out into the box we use for sensory play and left the kids to it!


Iz was quite tentative at first and gently touched the surfaces. She was definitely intrigued by the different feeling and looked a bit shocked when her finger suddenly slid right through one! It wasn't long before she was attacking them with a spoon and squishing them between her fingers though :)


Next D got in on the action and was fascinated that he could pick individual circles up, but could also squish them very easily.


Squish!

Squash!


And yes, even as a toddler, he still wanted to eat it! I think, however, this might be the first creative play activity that Iz has *not* tried to eat... rather ironic?!


Sunday, 9 October 2016

Bubble wrap stomp

One plus side of moving house is the sheer amount of bubblewrap floating around at the moment...

So inspired by a photo someone shared on Facebook a while ago we decided to make bubblewrap shoes and get painting :)


Both kids really enjoyed this although Iz (the lover of all thing messy!) was engaged with the activity for about twice as long as D.

I laid 2 long tracks of paper out over some foam mats in the garden and taped them together. I wrapped bubblewrap around their feet and secured with a bit of tape - very simple!


The paint was on some flat plates and although to start with we painted the bottom of their feet it soon degenerated into Iz standing in the paint plates and paint going everywhere!


After Iz was done mess-making, D then spent a while reviewing their artwork with a magnifying glass :)


A few tips...
- have something under your paper (we used those coloured foam mats that are sold everywhere but you could equally use a tarpaulin or table cloth). If a lot of paint is used then the paper may tear and you don't necessarily want super colourful grass...
- a thick layer of pain on paper gets very slippery so be on hand to catch your toddler when they start sliding all over the place. We had a "no running" rule and Iz only slipped once
- have a tupperware of water or baby wipes for clean up very close at hand for afterwards!! (I didn't and so ended up carrying Iz up to the bath...)


The final piece in all it's glory!


Enjoy the mess :)


Thursday, 29 September 2016

Playing with giant waterbeads

If you've already tried regular waterbead play then check these out - 10x bigger and sooo cool!

I got mine from ebay in a pack of about 35. You hydrate them in the same way, and actually to start with you can't tell they're going to be giant so it could be an exciting surprise for your toddler if they are used to the small ones.
Once they are hydrated you use them in lots of different ways - these are the things we did:

(note - as these are bigger than ping pong balls they are really satisfying for toddlers to squeeze in their hands... this meant our giant waterbead play ideas were mainly limited by the rate at which Iz in particular was destroying them!! I think they are also a bit more fragile than the small ones but they are just so fun!)

Playing I-spy

They loved that the other person became upside down and D had lots of fun making Iz different colours.


Shaving foam soup

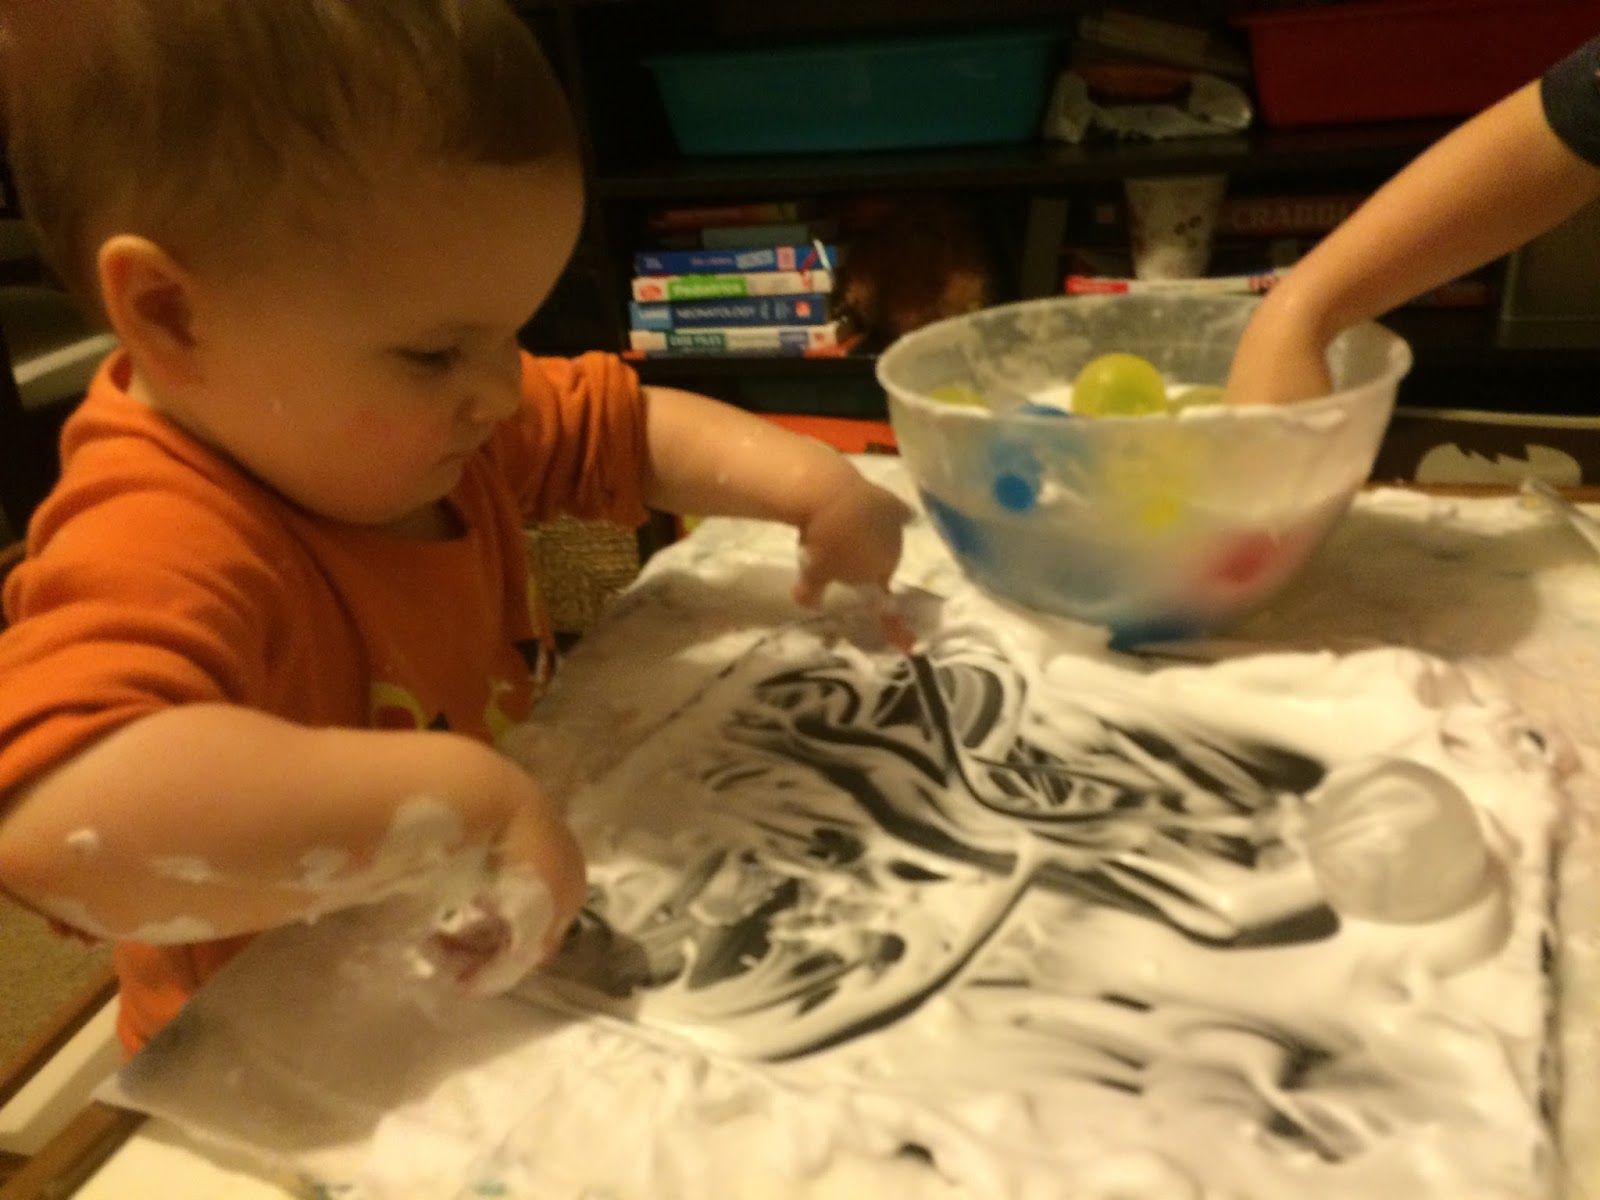
You can't really go wrong with adding shaving foam to your play (as long as your child isn't still in the eat-everything phase). D and Iz spent over an hour putting the balls in trays of shaving foam, washing them off, putting them in again, and repeat! D made patterns of different colours, practising grouping them together whereas Iz just embraced (as always!) the mess...


Sorting colours

The colours are so vibrant, they were lovely to just look at. We played with them dry in a bowl and also in a tray full of water. Simple change but added a whole different feel to the sensory experience.


And finally... Squishing them

Well you can't be a complete spoilsport when that's what they really want to do!! ;)


Picture of innocence despite the squished ball between her legs...


******

A lot of these are similar to the games we played with regular waterbeads but the fact they are now giant lends a whole new dimension - I promise, give it a try!


Thursday, 16 June 2016

Rainbow pasta

This is a great thing to make once and then keep in a jar and bring out whenever the kids are bored or want something slightly different to do. Because the pasta is not cooked it will keep for ages - we've had ours well over a year now.

To make it, use a similar process to the rainbow rice (see here). Put the pasta in a ziploc bag, add some food colouring and a small bit of vinegar and shake like crazy until the colour is evenly distributed. Then spread out on a covered baking tray to dry and make the next colour. 

So how do we play with it? There are so many things you can do (and your kids will probably invent a few games of their own!) but here are a few things we've enjoyed doing over the last year:

Counting

Super simple but a nice way to practice counting. D tends to count a pile out to Iz, who then counts it back to him :)

Making necklaces (or other miscellaneous objects!)

Add some pipe cleaners or ribbon and you can make bracelets, necklaces, crowns, belts... Good for manual dexterity/manipulation as well as dressing up fun!


I think Mr MFDS had a lot of fun making this creation!

Threading on spaghetti

Use a lump of playdough as the stand and get threading. D made a rainbow tower, Iz kept breaking her spaghetti as she was too rough with it and so ended up improvising and making a hedgehog!


Sorting colours

This was great for D last year and Iz is now the perfect age. You can get them to sort the colours, identify the colours or pick ones based on what colour you say.


Building towers freestyle

Self-explanatory. The highest we've managed to build so far is 12 pieces high :)


******

What's nice about this toy is that I'm happy for them to get the bottle out by themselves and they feel so grown up unscrewing the lid and deciding how many pieces to take out (although who am I kidding - if it's Iz in charge then it's usually the whole lot!). Definitely worth the initial 20 minutes prep time!

Wednesday, 13 January 2016

Sensory bottles

We've made quite a few sensory bottles but these two are by far my (and the kids!) favourites...

Floating Lego man

Squeeze a bottle of glitter glue into an empty water bottle (I got ours from Amazon) and fill with warm water. Add some extra glitter and add a Lego man of your choice (beware that you may be limited by the size of the bottle opening though - we had to use an astronaut as lots of our other ones wouldn't fit!). Top up to the top and glue the lid on tight. Shake the bottle up and watch as the glitter slowly clears from around your Lego man :)


Galaxy bottle

Fill a bottle with water and add a small jar of Barry M dazzle dust (other loose eyeshadows would probably work equally well, that's just what I used!). Glue the lid on and that's it. Shake it, swirl it, sooooo pretty. Photos definitely don't do it justice. It's completely mesmerising in real life (there is a video of it on my Facebook page)!

******

Have you ever made any sensory bottles? We always love hearing new ideas :)


Friday, 23 October 2015

Ribbon wheel

Simple sensory fun - you just need a hula hoop (we used one left over from our DIY giant bubbles) and some ribbon.


I then left the kids to play with it how they wanted, occasionally lifting it up around them to change their sensory experience, or holding it up so D could crawl through it (he *loved* this and kept asking to do it!).


I used a variety of ribbon colours, widths and textures to make it more interesting but you could use one colour (eg pale blue if you wanted to have a winter-themed hoop) or another one I think would look really pretty would be a rainbow one - with multiple ribbons of each colour all grouped together. Well, that's my next project sorted!


Simple fun (and easy to store without taking much space) - all that appeals to me! :)