Showing posts with label cooking with two. Show all posts

Saturday, 24 June 2017

Toddler cooking solo - Fruit fries

Now Iz is coming up to 3 I am letting her do more and more in the kitchen and am enjoying doing recipes where she can do it nearly all by herself. This is one of those :)

Ingredients:

Packet roll-out shortcrust pastry
Pot of fruit puree (we used one of the Hipp mixed fruit ones we use for pudding)
Egg
Sugar for sprinkling

Directions:

1. Roll out the pastry 

2. Spoon the fruit puree onto one half of the pastry sheet, leaving about a 1cm edge puree-free (difficult to do with an excited toddler!)


3. Fold the uncovered pastry half over the puree and push the edges together to seal

4. Whisk an egg and add 2 teaspoons of water

5. Mix well and brush over the pastry


6. Sprinkle sugar lightly over the top (optional)


7. Cut into strips/fries/squares/triangles (whatever shape you want) - we used a pizza cutter and that worked really well. I did do this bit though because I had visions of Iz just squidging all the filling out the sides!

8. Grease a baking tray and lay out the fries

9. Bake in pre-heated 180 degree oven for 10-12 minutes

10. Enjoy eating!


Monday, 5 June 2017

Cooking with two: turkey koftas


This was a very quick and easy lunch I made with D and Iz, and the best bit was it made so many patties that we froze a load and could then pull them out to use later. The kids were also really excited to eat something they had made themselves and were very proud of their creations!


Ingredients

1 small red onion
Small amount olive oil
1 red pepper
1 clove garlic
1 slice of bread
300g (roughly) turkey mince
1/4 teaspoon mixed spice

2 tablespoon thick yoghurt
1 teaspoon chopped fresh mint
Cucumber


For koftas:

1. Chop onion and fry in olive oil
2. Add in crushed garlic and diced red pepper
3. Place in mixing bowl and add rest of ingredients (turkey mince, mixed spice)
4. Grate a slice of bread (preferably an end piece) and add to bowl
4. Mix well and roll into small balls
5. Squash into patties and dry fry over medium heat until cooked through
6. Serve with dip below

Make any leftover uncooked mixture into balls and wrap individually in clingfilm before freezing. Then you can take individual patties out of the freezer, just defrosting the number you need each time.


For dipping sauce:

1. Chop cucumber into small pieces
2. Finely chop mint leaves
3. Mix with the yoghurt


Wednesday, 22 June 2016

Freezer cake cookies

Have you ever made something awesome completely accidentally? Yep I can now say that we definitely have! 


I remembered the cool pinwheel cookies we used to make as children and thought they might be fun to make with D and Iz. I couldn't remember the recipe so googled pinwheel cookies and one of the first recipes was an Australian one. I'm still not sure whether I wrote the quantities down wrong, interpreted their recipe differently or whether it was the result of the freezing and layering... But I ended up with a completely different result. Luckily it resulted in really delicious cookies that taste more like cake, and best of all the mixture is totally freezer-friendly so you can just keep a roll in the freezer and just slice off a few to cook fresh when friends come for tea - yum!

Ingredients

250g unsalted butter
330g caster sugar
2 eggs
2 teaspoons vanilla essence
450g plain flour
1 teaspoon baking powder
1 tablespoon of cocoa (if you want a brown colour)
Food gels as desired 

Method


Cream the butter and sugar together and then mix in the eggs and vanilla. Then slowly add the flour and baking powder and mix well together

Separate the mixture into different bowls - one for each colour - and add a small amount of coloured gel or cocoa and mix well

Wrap each lump of mixture in cling film and put in the fridge for at least 30 minutes

Remove from fridge and roll out between 2 layers of baking paper. Then use a pastry brush and use water to "glue" the different layers together

Carefully remove the paper from each layer and roll up like a swiss roll, then wrap in clingfilm and put in the freezer

Freeze for about an hour and then cut off as many cookies as you want

Cook for 15-18 minutes at approx 160-180 degrees (fan) - they do get much bigger so leave enough room between them!

Cool on a cooling rack (ideally not tasting them all as you do it Iz!)
 
If you want to have a 100s&1000s coating then roll the sides of each cookie in a plate of them *before* cooking

And enjoy...

Mmmmmmm delicious! We still have a roll in our freezer ready for last minute cookie emergencies...

If you try making them I'd love to hear how it works out :)

Saturday, 10 October 2015

Cooking with two: Pizza

Awesomely simple yet great fun and the kids enjoyed it. I've done something similar with D before but this time Iz joined in.

[NB we actually did this just before Iz turned 1 - I think she'd make more and eat less now... Actually who am I kidding?! Lol]

Ingredients:

Pitta breads
Tomato passata
Cheddar cheese (could use other types, that was just what we had in the house)
Sweetcorn
Red onion
Green pepper

You could add anything you have around on top (spinach, cooked meat etc) - our fridge was just pretty empty at the time!


Advance prep:

- cut the pitta breads in half (ie so you have 2 flat pieces)
- open sweetcorn can
- chop up green pepper and onion


What the kids did:

D poured the passata into a bowl and grated the cheese (with my help). Then both kids assembled their own pizzas by spooning on tomato first and then sprinkling on however much of each topping they wanted. 


Then I put them in the oven for 6-8 minutes until the cheese had all melted and the pitta bases were slightly crispy. Mmmmm yummy homemade pizza :)

Thursday, 1 October 2015

Cooking with two: broccoli pasta bake

Really easy pasta bake recipe to make - you can see the original recipe here on A Mummy Too's blog - I just reduced it massively as didn't want us to be eating the same thing for 7 days in a row!!

Ingredients:
60g cream cheese
75ml milk
40ml double cream
65g grated cheddar
90g cooked pasta shapes (don't overlook as they're going to go in the oven again!)
50g (ish) broccoli florets
Breadcrumbs as garnish

Tip - easy way to make breadcrumbs: toast a slice of bread, then (whilst over a chopping board) scrape up and down the surface with a regular knife. Turn over and repeat the other side. Then pop it back in the toaster and repeat the process. Hey presto loads of fine breadcrumbs on your chopping board :)


Steps:
1. Mix the cream cheese, milk and double cream in a bowl (D smooshed the cream cheese with a wooden spoon first to make it easier to mix with the liquids)
2. Add the grated cheese and pasta and mix well
3. Roughly cut the "flowery" bits of the uncooked broccoli and mix with everything else
4. Pour into a greased ovenproof dish and sprinkle with the breadcrumbs (plus any leftover grated cheese - we didn't have any as Iz diligently kept adding all the cheese she found to the mixing bowl!)
5. Cook at 180 degrees for 15 minutes... And enjoy :)


Monday, 31 August 2015

Birthday cakes!!!


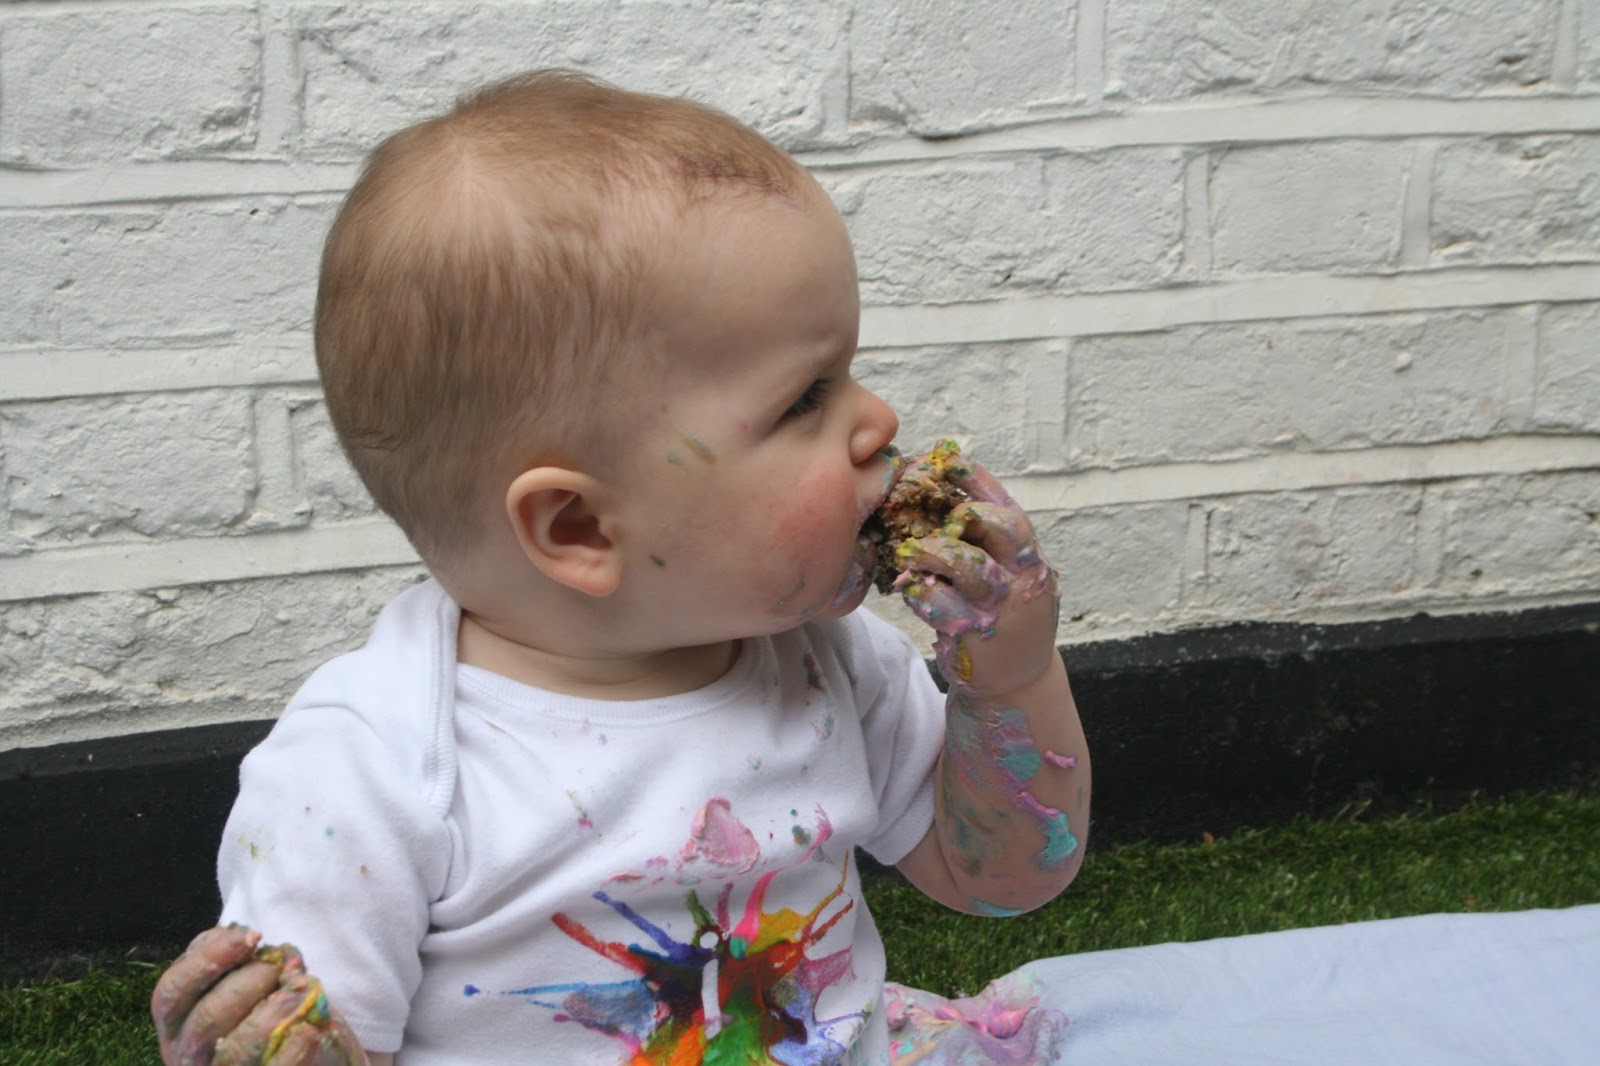
So this month Iz turned 1... where the time has gone I have absolutely no idea but we celebrated her birthday with no less than 4 different cakes :)


So here are the different types of cake and styles of icing we used (you could obviously mix and match any of them!).

Healthy smash cake

 
I've posted this cake recipe previously (you can click here to read it) - it's completely free from refined sugar and dairy products and you can easily substitute in wholemeal flour for extra nutritional benefits.
 
For the icing (see the bottom of this recipe) I divided it between 4 bowls and added a different colour to each. I used the Wilton neon food gels which I only got recently but completely love - you only need a drop or two for really strong vivid colours.
I then added 2 colours at a time to my piping bag and piped rosettes onto the cake. I left space between each rosette so I could go back and pipe one with the other 2 colours afterwards.  


This was the first time I'd ever tried this and the icing was pretty runny so not the easiest to work with (but looked great in the cake smash pictures!!) but you can see how easy it is.


If the icing ever gets too runny to work with you can always pop it back in the fridge for an hour or two. Ditto with the cake - even if it's only half-iced!


Amazing pic by Pallavi from "Recapture by Pallavi" although she's now moved abroad :(

As an aside if you are wanting to do a cake smash at home but don't have a cake stand you can make a very simple DIY one by using a hot glue gun and a small ramekin dish. Just glue the ramekin onto the underside of a disposable cake board and there you are :)


 Sprinkle cake
 
Ever since I saw a picture of one of these I've been wanting to try it out. For the "cake" bit we used our sugar-free wacky cake (full recipe here) as I wanted Iz to be involved in making her 'proper' first birthday cake :)

 
I lined the cake tin with two pieces of baking paper in a cross and sprayed the middle with easy-release cake spray. This made turning and releasing the cake after cooking super easy. 


After it had cooled I chilled it for a few hours in the fridge (no strong rationale behind the timings - it just clashed with the kids bedtime! Lol) and then dirty iced it with some vanilla frosting. I chilled it for another hour and then added another layer of frosting. My two tips - firstly definitely dirty ice first as it prevents "cake drag" and you have a much smoother icing finish, secondly put a spatula/fish slice under your cake bottom *before* you start icing it... You'll thank me later! 


Once it's iced balance it on top of an up-turned bowl in the middle of a baking tray. Then I used the "pat method" to apply sprinkles - gather a handful of sprinkles loosely in the palm of your hand and bring them quickly into the side of the cake. Don't press too hard or the sprinkles will disappear into the icing. Press gently and most will stick whilst a few (the excess) will drop off into the baking tray. Continue like this round the cake.


Tip - make sure your hands are dry and icing-free before every single "pat" - I kept a piece of kitchen roll next to me and just wiped my hands between each pat. You can then use a heaped teaspoon to target any specific areas that need extra sprinkles and just keep scooping up and recycling any ones that fall into the baking tray.


Lastly when you're happy with the sides, just sprinkle the top liberally and make sure all the edges are well covered.


Once finished gently lift the cake onto a plate or cake board (using the spatula - no damage to the frosting at all - cunning huh?!). Here's the final cake - super pretty and sprinkly!


This was the first time I'd done a sprinkle cake but I love how easy it was and how it looks so polished. Definitely something I'll be repeating :)


Ice cream cone cakes
 
This is another style of cake I've been wanting to try for ages. Cute, delicious and super practical - could you ask for anymore?! Lol. You can read the whole post here.


Second smash cake
 
So I got in trouble for not involving Iz's half-brother in her original cake smash. As she'd only been 10 months old then I decided the best option was to just have another one :) great excuse to get my piping bag out again!
 
I used a packet mix (Betty Crocker red velvet cake) as firstly we did the smash the day after I'd just finished a run of night shifts so I hadn't really had the time (or energy!) to make another rainbow cake like D had. I also figured it was pretty safe to do this as so far Iz hadn't expressed much interest in eating the cakes she'd encountered...
 

For the icing I covered the sides with sprinkles just like on her actual birthday cake above (I did have a LOT of sprinkles left over from then!! Lol) and then piped the top. I divided the white icing between 4 plastic cups and coloured each with a different food colour gel. Then using a star nozzle and a piping bag (I used disposable ones as couldn't face washing it out in between each colour!) I piped one colour at a time, leaving enough space between "stars" for the other colours.


Piping like this is actually very forgiving as you can just squeeze very small or much larger stars in the remaining gaps, depending how much space you have to work with. I deliberately chose to leave yellow til last as was worried it might get slightly buried by the darker colours otherwise but I suspect doing them in any order would work just as well.


As is typical with babies, Iz spiked a high temperature on the day but we were going on holiday the next morning so there was no time to delay. She was definitely slightly more gentle than she usually is with food but still had lots of fun :)


After her older brothers got involved...

******
 
So there they are - the multitude of different cakes used to celebrate my littlest baby turning 1 :)
 
Have you made any cakes recently? Decorated one for a birthday? Post a picture below or leave a link - I'd love to see!