Showing posts with label water beads. Show all posts

Thursday, 29 September 2016

Playing with giant waterbeads

If you've already tried regular waterbead play then check these out - 10x bigger and sooo cool!

I got mine from ebay in a pack of about 35. You hydrate them in the same way, and actually to start with you can't tell they're going to be giant so it could be an exciting surprise for your toddler if they are used to the small ones.
Once they are hydrated you use them in lots of different ways - these are the things we did:

(note - as these are bigger than ping pong balls they are really satisfying for toddlers to squeeze in their hands... this meant our giant waterbead play ideas were mainly limited by the rate at which Iz in particular was destroying them!! I think they are also a bit more fragile than the small ones but they are just so fun!)

Playing I-spy

They loved that the other person became upside down and D had lots of fun making Iz different colours.


Shaving foam soup

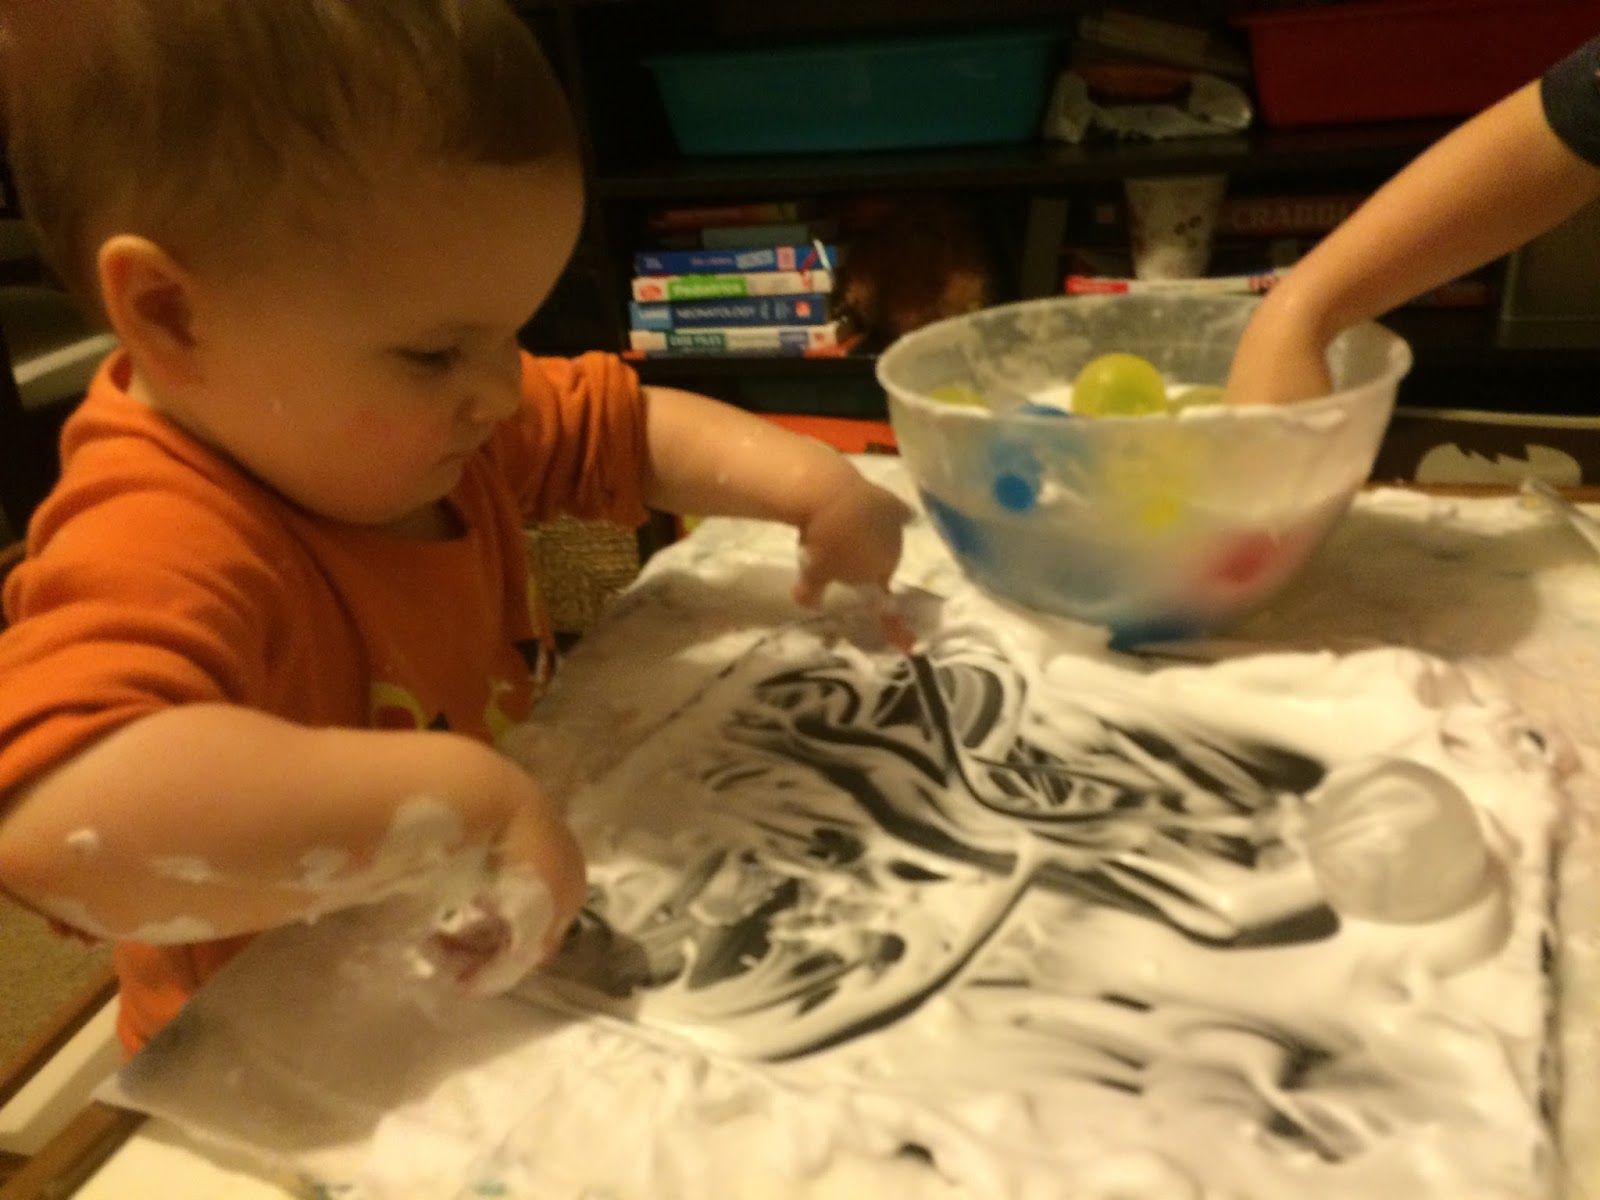
You can't really go wrong with adding shaving foam to your play (as long as your child isn't still in the eat-everything phase). D and Iz spent over an hour putting the balls in trays of shaving foam, washing them off, putting them in again, and repeat! D made patterns of different colours, practising grouping them together whereas Iz just embraced (as always!) the mess...




Sorting colours

The colours are so vibrant, they were lovely to just look at. We played with them dry in a bowl and also in a tray full of water. Simple change but added a whole different feel to the sensory experience.


And finally... Squishing them

Well you can't be a complete spoilsport when that's what they really want to do!! ;)


Picture of innocence despite the squished ball between her legs...


******

A lot of these are similar to the games we played with regular waterbeads but the fact they are now giant lends a whole new dimension - I promise, give it a try!


Friday, 17 July 2015

Water bead play for toddlers

A few months ago I wrote about water bead play ideas for babies (see here) and an awesome waterbead waterbed but I originally got them for D, not Iz, as they are NOT taste-safe and you need to watch carefully to make sure none are eaten. Luckily D is now out of the "must-eat-everything" stage, although I do always re-iterate the "no eating" rule at the start of any water bead activity...


So here are a few of the things D has done with them over the last few months:

Sorting colours

Pretty simple but it kept D busy :) all you need is an assortment of colours all mixed up in a bowl and then make yourself comfy whilst your toddler spends the next 30 minutes separating out the colours!


Just squishing

If you've never felt waterbeads you won't understand how nice this is to do. They are soft and squidgy but not slimey - perfect for squishing :) and at the same time make sure you "bounce" them (but don't lose them!!).

Shaving foam and waterbeads

We sprayed foam onto a cheap baking sheet and then D arranged the beads to make patterns. Or just randomly dropped them wherever. Using tweezers he then tried to pick them all up again (this is pretty tricky and after a few minutes he got annoyed and used his fingers instead...) and put them in an ice cube tray.


Painting with waterbeads

A variation on marble painting this was great fun. Put a piece of paper in the bottom of a high-walled container (we used a roasting pan from Poundland) and dip some waterbeads in paint. Drop the beads onto the middle of the paper and swivel-swivel-swivel! Let dry and you have a waterbead masterpiece :)


Waterbead "soup"

Super simple but fun and also good manipulation/fine motor practice. We used a big tub with water, a smaller "bowl" for the soup, some silicone cupcake cases and a spoon to do the creating. D had fun scooping, swishing and putting groups of waterbeads in the cupcake cases.He happily played in here for over 20 minutes (at which point Iz woke up from her nap so the water beads got put away!).


Waterbead ice cubes

I froze some waterbeads in individual ice cubes (some were even turtle shaped but it ended up being pretty hard to tell that when frozen!). I then gave D a tub of yellow coloured water and all the ice cubes in a tray. He dropped them into the tub one by one, watched them melt, watered them with the watering can (Iz LOVED watching this in action!) and then caught all the pieces in a net at the end. This was the only waterbead activity listed here that Iz was present during and she was *very* heavily supervised, making sure she did not put any beads (or fragments of) anywhere near her mouth.


Frozen waterbeads 

I froze all the waterbeads that were left after we'd done all the above activities and saved them for a really hot day. Incredibly the British weather obliged a few weeks ago so out they came. First D swooshed them around the tray, then he tried to break them up with a spoon. Next a water gun came out, before a bottle of water.


Once they were all defrosting he spent ages transferring them from the box, onto the lid, and back into the box again. He loved trying to catch them on the spoon!


Note: once you have done this the waterbeads aren't reuseable again - once frozen and defrosted they become fractured and break up into smaller pieces.


******

And he obviously enjoyed the skittles and giant water bead water bed we'd previously made and played with too :)


******

Disclaimer: as with any activity involving your toddler/baby, use your own judgement and common sense. I always closely supervise any sensory play and always inspect items for wear/tear carefully before each playing session. Water beads are NOT safe if ingested. Always make sure you are confident with the safety of whatever your child is playing with.

Saturday, 16 May 2015

Thursday, 30 April 2015

Water bead water bed

After making these baby-safe water bead activities I decided to upsize the sensory bag to make a giant water bead water bed... And it was just in time for the gorgeous weather last week - the perfect way to keep cool but without getting wet!


It was really simple to make and all you need is:
- some plastic sheeting (I used a disposable tablecloth from Poundland)
- some hydrated waterbeads
- duct tape
- water

I folded the tablecloth so it was 3 layers thick (I didn't trust Poundland to provide tough enough plastic sheeting for £1!!) and then duct taped three of the sides (tape-to-tape). I then put the water beads inside and duct-taped the last edge about 80% closed. Through the small opening I added some water and once there was enough added extra duct tape to close it off securely. And that's it! How simple? It felt very cool to lie on and you could feel the squishy beads through the plastic.

Next time I'm going to try and find some clear (but strong) plastic as it would be even cooler if you could see the coloured beads inside.

Tip: If you have someone else with you to help then I'd recommend filling with water at the same time as the beads and then duct-taping the last side in one go - this ensures there will be no small holes for water to leak out through.
  
How lush do these look? So fun to squidge!

Adding the water beads

Only *just* had enough duct tape to finish it!

The small opening for the water - I used a jug to pour it in

The finished product

Big enough for 2 :)

Fun to squish

Perfect for a sunny day

 ******

Disclaimer: as with any activity involving your baby, use your own judgement and common sense. I always closely supervise any sensory play and always inspect items for wear/tear carefully before each playing session. Some plastic bags will be stronger than others, and some people will use duct tape more successfully. Always make sure you are confident with the safety of whatever your baby is playing with.

Wednesday, 29 April 2015

DIY light box

There are so many fun activities you can do with a light box but don't worry - there's no need to go out and buy one. Here's how to make your own...


You need:
A clear box
String of fairy lights
A thin canvas bag (or plain paper if you don't have one)

All you need

Place the lights inside the bag (to diffuse the light slightly) and put inside the box. If you don't have a bag then you could just tape white paper (this is the one time low quality thin paper is good!) to the inside lid of the box. You should still be able to close the lid with the lead trailing out so even when it's plugged in the box is still secure. 

This is what it looks like if you don't diffuse the light

You've probably got all the components at home already - how quick and easy?!

So far we've used it with our edible slime, in our baby-safe water bead play and during regular exploration of some of Iz's toys.

Love these multi-coloured sensory blocks Iz has

Examining the slime carefully


Squishing some water beads


I love that it's so easy to take apart and put together when desired and I can see us using it a lot in the future - but think we might have to upgrade to a larger box so both D and Iz can use it at the same time :)


Baby-safe water bead fun

There are literally a million and one fun things to do with water beads. Starting off by simply squishing and bouncing them. Have you tried? They feel soooo cool!

But they're definitely things you want to keep away from babies - when dehydrated they could easily be swallowed and then swell up internally, and when hydrated their size makes them a veritable choking hazard...

However, here are some baby-proof ways even the littlest ones can still enjoy them :)


Sensory bags

Pop a handful in a ziploc bag, add some coloured water and secure with duct tape so it can't be accidentally opened.


I double bagged them for storage after their first use and have actually kept them like that since. You can still see the colours and feel the textures in the same way but it's just an extra layer of protection from Iz's sharp little fingernails!

[Tip - I used the same method to secure the duct tape as I used in my previous sensory bags - see here]


Sensory bottles

Add a handful to a clean empty bottle, top up with coloured water and secure the lid with a glue gun. I waited for 24 hours post-gluing and then tried to open them myself. I couldn't. So I figured the lids were probably stuck pretty good!


Why you need to glue them shut!
Yep she even did her first proper crawl when trying to reach them!


Skittles

This was fun to play with D. He lined the bottles up and then threw a ball to knock them down. To make it more challenging he would say which colour he was aiming for before he started.


I also intentionally filled the bottles with varying amounts of beads so D could compare them and we could talk about biggest/smallest etc. 


Water bed

Initially we started with the biggest ziploc bag that the supermarket stocked. I filled it with a mix of different coloured beads and some water and secured the edges with duct tape. 

Love the colours :)


It was nice and cool for Iz to play with in the hot weather.


Then I decided to upsize it and make it even more fun for both D and Iz - so I made a water bead water bed (full post here) (trying saying that ten times quickly!). Perfect for the summer :)


Have you used water beads with your baby or toddler? What did you do? I've got some exciting activities planned for D when Iz is not also playing but always love to hear more ideas :)

******

Disclaimer: as with any activity involving your baby, use your own judgement and common sense. I always closely supervise any sensory play and always inspect items for wear/tear carefully before each playing session. Some plastic bags will be stronger than others, and some people will use duct tape more successfully. Always make sure you are confident with the safety of whatever your baby is playing with.